Chicken Cutlet: What It Is and How to Cook It
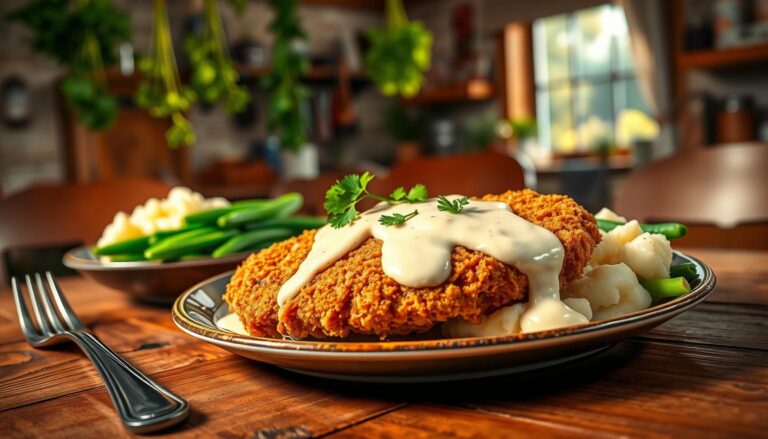
When you bite into a perfectly cooked chicken cutlet, something special happens. The outside is crispy, and the inside is tender and juicy. It’s a simple dish that feels special. You might remember eating chicken cutlets at your grandmother’s or at your favorite Italian restaurant.
A chicken cutlet is a thin, pounded chicken breast coated in seasoned breadcrumbs and fried until golden brown. Its beauty lies in its simplicity. You only need a few ingredients. What really matters is how you prepare and cook it.
This guide will teach you to make chicken cutlets at home. You’ll learn how to pick the best chicken breasts. You’ll also discover how to create the perfect breading station. Plus, you’ll learn both pan-frying and baking methods to get that golden, crunchy exterior every time.
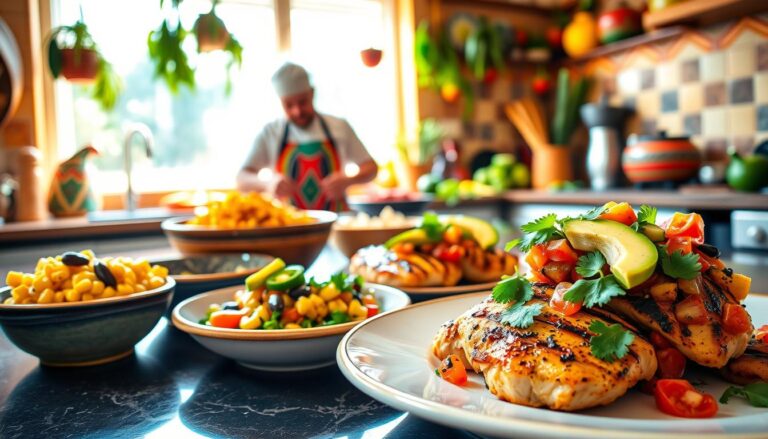
Whether you’re cooking for your family or impressing guests, knowing the right technique makes a big difference. The crispy chicken cutlet you’ll make tastes like it took hours to make. But, you can make it in under thirty minutes.
Table of Contents
What Is a Chicken Cutlet
A chicken cutlet is a boneless, skinless chicken breast that’s been cooked in a special way. You might think all chicken breasts are the same, but a chicken cutlet is different. It’s made by preparing the meat in a special way.
The term “cutlet” refers to how the meat is prepared, not the type of poultry. This makes the dish taste better than regular chicken breast.
The Classic Definition of Chicken Cutlets
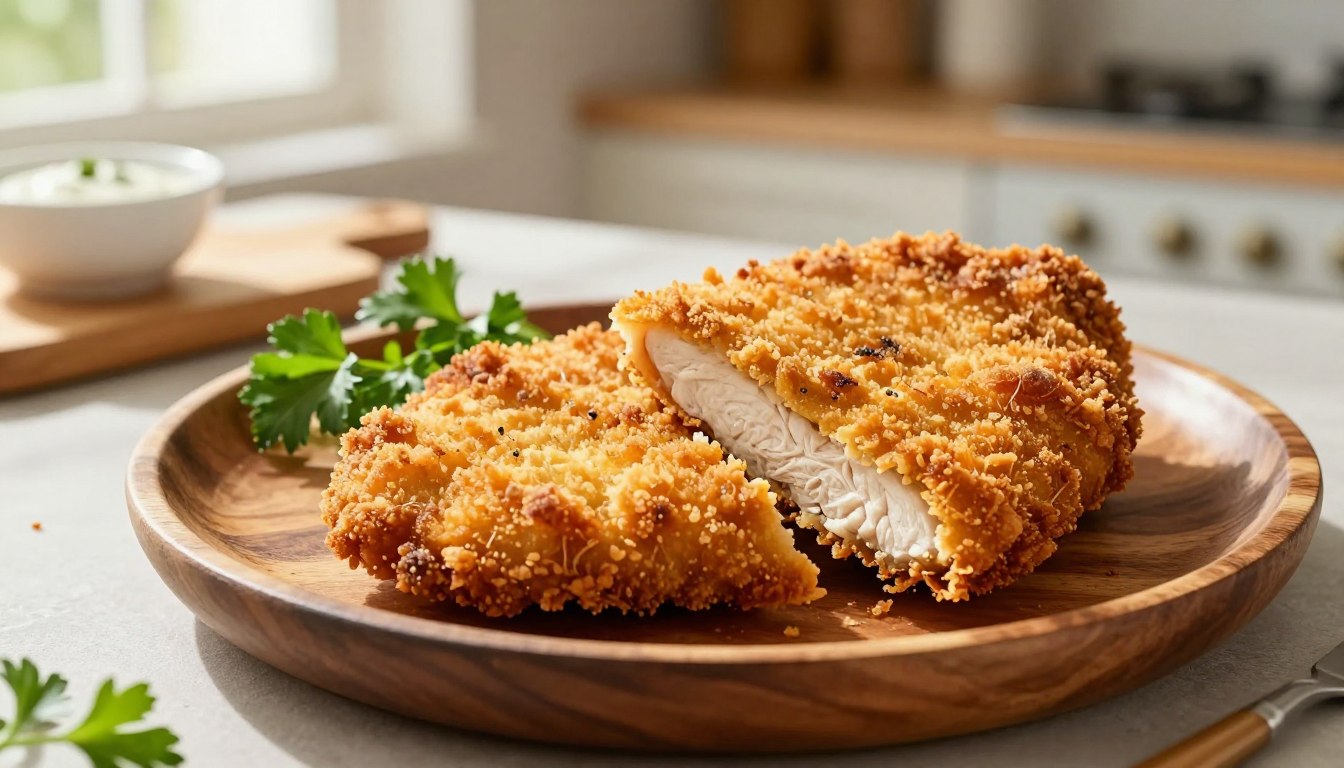
A chicken cutlet starts with a boneless, skinless chicken breast. You butterfly and pound it until it’s about ¼ to ½ inch thick. Then, you coat it in a three-part breading: flour, egg, and breadcrumbs.
You cook the chicken until it’s golden brown and crispy on the outside. But the inside stays tender and juicy.
Pounding the chicken makes it even in thickness. This ensures it cooks evenly. So, no part of the cutlet gets dry or undercooked.
How Chicken Cutlets Differ from Regular Chicken Breasts
Regular chicken breasts are thick and uneven. They take longer to cook and can dry out easily. But a thin sliced chicken breast cooks fast and evenly.
| Feature | Regular Chicken Breast | Chicken Cutlet |
|---|---|---|
| Thickness | ¾ to 1 inch thick | ¼ to ½ inch thick |
| Cooking Time | 15-20 minutes | 3-5 minutes |
| Texture | Can be dry if overcooked | Stays moist and tender |
| Preparation | Minimal preparation needed | Butterflied, pounded, and breaded |
| Exterior | No coating | Golden, crispy breadcrumb crust |
Pounding the meat tenderizes it. This makes it more tender than unprepared chicken breasts. You get a crunchy breading outside and soft meat inside.
- Chicken cutlets cook in minutes instead of 15-20 minutes
- The thin sliced chicken breast remains moist throughout
- Pounding develops a more tender texture
- The breading creates a crispy, flavorful exterior
- Each piece cooks evenly for consistent results
Making a chicken cutlet is a special cooking technique. It produces restaurant-quality results at home. The even thickness, quick cooking, and breading make it better than regular chicken breasts.
Why You’ll Love Making Chicken Cutlets at Home
Learning to make chicken cutlets is a great skill to have. This recipe is easy and quick, making delicious meals without a lot of work. You can enjoy restaurant-quality food right in your kitchen.
The texture combination of homemade chicken cutlets is amazing. They have a crunchy, golden outside that stays crispy. The inside is moist and juicy, making every bite a delight. This is hard to find in frozen foods.
This recipe is fast, taking just minutes to make. You need simple ingredients like chicken, flour, eggs, and breadcrumbs. Cooking is easy, whether on the stovetop or in the oven, perfect for busy nights.
Chicken cutlets are very versatile:
- Serve them plain with vegetables and rice
- Layer them in sandwiches with lettuce and tomato
- Transform them into chicken parmigiana
- Create chicken Milanese with fresh arugula
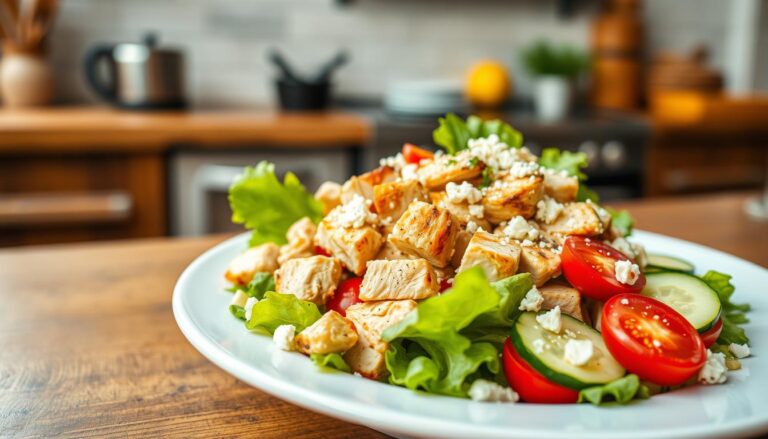
- Add them to salads for protein
Your family will ask for this dish over and over. Kids and adults love the crispy cutlets. You can make a big batch and save some for later, making meal prep easy.
Once you learn to make chicken cutlets, you can use the same method for other meats like pork and veal. This skill will become a favorite in your kitchen.
Essential Ingredients for Perfect Chicken Cutlets
To make a tasty breaded chicken cutlet, you need the right ingredients. You’ll need chicken breasts, flour, eggs, breadcrumbs, and oil. Each one is important for the perfect crunch and tender meat inside.
Choosing the Right Chicken Breasts
Start with 1 pound of boneless, skinless chicken breasts. Choose breasts that are about the same size for even cooking. Slightly larger breasts are better because you can pound them to the right thickness.
Avoid thin or pre-tenderized chicken. You want to pound them yourself for even thickness. This helps control the texture of your breaded chicken cutlet.
The Three-Part Breading Station
Creating a breaded chicken cutlet needs three main parts. Each part adds flavor and crunch.
- Flour coating – About ½ cup of all-purpose flour seals the chicken’s surface and helps retain moisture
- Egg wash – One or two beaten eggs act as the binding agent that makes breadcrumbs stick to the chicken
- Breadcrumb mixture – Approximately 1 cup of breadcrumbs creates the final crispy coating
Season each station with salt and pepper to taste. This three-layer approach ensures your breaded chicken cutlet gets maximum flavor and texture.
Selecting the Best Breadcrumbs for Maximum Crunch
Your breadcrumb choice is key to a crispy breaded chicken cutlet. You have several great options to choose from.
| Breadcrumb Type | Texture | Best For |
|---|---|---|
| Italian-style fine breadcrumbs | Delicate, uniform crunch | Traditional flavor and texture |
| Panko breadcrumbs | Extra-large, super crispy | Maximum crunchiness |
| Combination mix | Balanced crunch | Optimal all-around texture |
| Homemade from dried bread | Customizable | Cost-effective quality |
You can make store-bought breadcrumbs better by adding grated cheese, parsley, garlic powder, lemon zest, or basil. These add unique flavors to your breaded chicken cutlet.
Homemade breadcrumbs from dried bread are also great. They let you control the taste. Your breaded chicken cutlet will taste even better when you customize the breadcrumb mixture.
How to Prepare Chicken Breasts for Cutlets
Making amazing chicken cutlets starts with proper preparation. You need to turn regular chicken breasts into thin, even pieces. These pieces should cook uniformly and taste tender. This section will guide you through two essential techniques for every home cook.
Butterflying Your Chicken Breasts
Butterflying is your first step to perfect cutlets. Place your chicken breast on a clean cutting board. Stabilize it with your non-dominant hand. Take a sharp knife and slice horizontally through the thickest part of the breast.
Start from one side and cut to the other. This creates two thinner pieces from one breast. This simple technique doubles your portions and makes pounding easier.
The butterflying method makes thin sliced chicken breast ready for the next step. Your knife should be sharp, and your hand steady. This ensures clean cuts without tearing the meat.
Pounding Chicken to the Perfect Thickness
Now, it’s time for pounding, which turns your chicken into restaurant-quality cutlets. Follow these steps for the best results:
- Place each butterflied piece between two sheets of parchment paper or plastic wrap
- Use a meat mallet, rolling pin, or heavy flat object to pound the chicken
- Start from the center and work outward toward the edges with gentle, even strokes
- Aim for uniform thickness of ¼ to ½ inch throughout
A pounded chicken breast becomes tender and cooks evenly. The pounding breaks down muscle fibers. This texture difference is key for excellent cutlets.
Once your chicken is the right thickness, season both sides with salt and pepper. Your meat is now ready for the breading station.
Setting Up Your Dredging Station
Getting ready for a breaded chicken cutlet needs some planning. First, set up a dredging station. This is a place where you keep all your ingredients in order. A tidy station makes breading quick and easy.
Imagine your kitchen counter as an assembly line. Place three shallow containers in a row, from left to right. This setup helps you coat your chicken easily and keeps your hands and counter clean.
- Wide, shallow bowls or pie plates (deeper bowls make coating harder)
- A clean plate or tray for finished cutlets
- All your ingredients measured and ready to go
Arrange your containers in this order:
| Container Number | Ingredient | Amount | Seasonings |
|---|---|---|---|
| 1 (First) | All-Purpose Flour | ½ cup | Pinch of salt and pepper |
| 2 (Second) | Beaten Eggs | 1-2 eggs | Salt and pepper to taste |
| 3 (Third) | Breadcrumbs mixed with seasonings | 1 cup breadcrumbs | ¼ cup grated cheese, 1 tablespoon parsley, 1 teaspoon garlic powder |
For the final layer, mix breadcrumbs with tasty ingredients. Add grated cheese for richness and parsley for freshness. You can also add garlic powder, lemon zest, or dried oregano for more flavor. Season with salt and pepper.
Have a clean, dry plate ready at the end. It will hold your breaded chicken before you cook it. Preparing everything ahead of time helps avoid mess and saves time.
Step-by-Step Guide to Breading Chicken Cutlets
To make a crispy chicken cutlet, you need to master the breading technique. The secret is using the “one hand wet, one hand dry” method. This keeps your hands clean and prevents clumpy breading. Use your dominant hand for dry ingredients like flour and breadcrumbs. Your other hand is for the egg wash.
This simple trick makes cooking easier and gives you restaurant-quality results at home.

The Flour Coating Technique
Start by placing your seasoned chicken breast in a shallow dish of flour with your dry hand. Make sure to coat both sides evenly with a thin layer. Then, gently shake off any extra flour.
This step makes the egg stick better. The flour also keeps the chicken moist and helps create a crispy outside.
Egg Wash Application
Now, switch to your wet hand and put the floured cutlet into beaten egg. Make sure to coat it evenly. Let any extra egg drip back into the bowl.
Too much egg can make the breading soggy. You want a light, even coating for a crispy cutlet that stays juicy inside.
Pressing Breadcrumbs for Maximum Crispiness
Put your egg-coated chicken into breadcrumbs. Sprinkle more breadcrumbs on top with your dry hand. Then, press your palm into both sides of the cutlet firmly.
This step seals the breadcrumbs to your chicken. It prevents them from falling off during cooking. You’ll get a crispy chicken cutlet with a juicy center.
- Keep one hand dry for flour and breadcrumbs
- Keep one hand wet for egg only
- Shake off excess flour before moving to egg
- Allow excess egg to drip before breadcrumb step
- Press breadcrumbs firmly on both sides
Pan Fried Chicken Cutlet Cooking Method
A pan fried chicken cutlet gives you crispy, golden results that taste like they’re from a restaurant. This method brings out the best in your breaded cutlets. Learning the right technique ensures you get that perfect crunch every time.
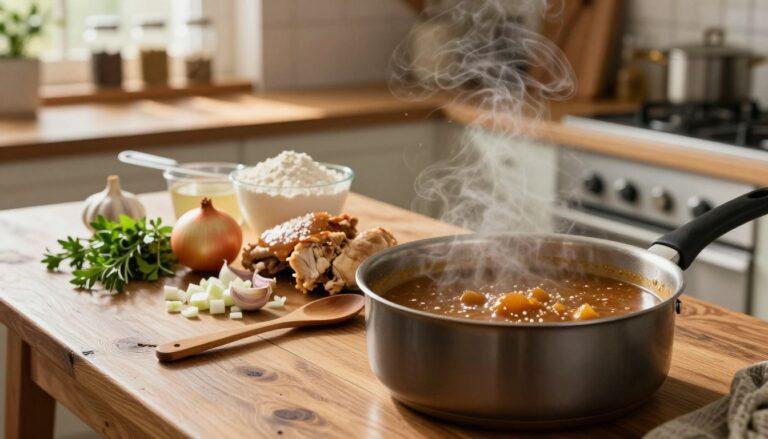
Begin with a large, heavy-bottomed skillet for even heat. Fill the pan with enough olive oil to cover about half of your cutlets. This amount is just right for frying without too much oil.
Heat the oil over medium to medium-low. This temperature is key for success. Too hot and the breading burns before the chicken is done. Too cold and your cutlets will be greasy.
Test the oil by dropping a breadcrumb into it. If it sizzles and floats right away, your pan is ready. Then, add breaded cutlets to the hot oil in batches. Don’t overcrowd the pan to ensure even cooking.
Cook each side for three to five minutes until golden brown. Flip only once to keep the coating crispy. After cooking, place the cutlets on a wire rack over a baking sheet. This keeps the bottom crispy by allowing air to circulate. Sprinkle with salt while they’re hot. Between batches, check the oil temperature and add more as needed.
- Use extra-virgin olive oil for superior flavor
- Maintain medium heat for best results
- Never crowd the pan during cooking
- Transfer to wire racks for maximum crispiness
- Season immediately while hot
Baked Chicken Cutlet Alternative
Baking is a healthier way to cook chicken cutlets. It gives you a crispy exterior without using much oil. This method is great for those watching their fat intake. Just follow the right steps to get delicious, perfectly cooked baked chicken cutlets.
Preparing Your Baking Pan with Butter
First, preheat your oven to 400°F. Then, prepare your baking pan with butter. Use about ½ tablespoon of butter for each chicken cutlet. Put the pan in the oven to melt the butter completely.
This step makes a flavorful, golden base. It prevents the chicken from sticking and helps it brown beautifully.
After the butter melts and the oven is ready, carefully remove the pan. Now, bread your chicken cutlet. Use the same three-part process: flour coating, egg wash, and pressed breadcrumbs. Place the breaded chicken cutlets in the buttered pan without overlapping them.
Achieving Golden Perfection in the Oven
Bake your chicken cutlet for about 20 minutes. Flip each cutlet halfway through, around the 10-minute mark. This ensures even browning on both sides. Thicker cutlets might need 22-25 minutes, while thinner ones might finish in 15-18 minutes.
Make sure your chicken cutlet reaches an internal temperature of 165°F. Use a meat thermometer to check the thickest part. This ensures the chicken is fully cooked and safe to eat.
| Cutlet Thickness | Baking Time | Internal Temperature |
|---|---|---|
| Thin (¼ inch) | 15-18 minutes | 165°F |
| Medium (⅜ inch) | 18-20 minutes | 165°F |
| Thick (½ inch) | 22-25 minutes | 165°F |
Keep your chicken cutlet from drying out by not overbaking it. Remove it from the oven as soon as it reaches 165°F internally.
Tips and Tricks for Crispy Chicken Cutlets
Making a crispy chicken cutlet is more than just following steps. It’s about mastering techniques for top-notch results. Paying close attention to every detail is key.
Pounding the meat is crucial. Start from the center and work your way out. Use even pressure to make sure it’s the same thickness everywhere. This helps it cook evenly and stay crispy.

The secret to crunchiness is pressing breadcrumbs firmly onto the chicken. Press hard on both sides to seal in moisture. This keeps the breading crispy and prevents it from falling off.
Oil temperature is vital. Make sure it’s hot before adding the cutlets. A hot oil test is to see if a breadcrumb sizzles right away. If not, your cutlets will soak up too much oil and get greasy.
Essential Cooking Techniques
- Let breaded cutlets rest for 5-10 minutes before cooking to help coating adhere better
- Add salt and pepper to the chicken itself and to each breading component for layered flavor
- Monitor oil level throughout cooking, adding more between batches as needed
- Use a wire cooling rack for draining instead of paper towels to prevent sogginess
- Check internal temperature with a meat thermometer to confirm it reaches 165°F
- Finish with flaky sea salt right after cooking for extra flavor burst
| Cooking Factor | Why It Matters | Best Practice |
|---|---|---|
| Oil Temperature | Determines crispiness level and oil absorption | 350-375°F (test with breadcrumb sizzle) |
| Breadcrumb Pressure | Creates seal for moisture retention and crunch | Press firmly on both sides for 2-3 seconds |
| Resting Time | Allows coating to set before heat exposure | 5-10 minutes at room temperature |
| Internal Temperature | Ensures food safety and prevents dryness | 165°F measured at thickest part |
| Draining Method | Prevents bottom from becoming soggy | Wire rack instead of paper towels |
Don’t be afraid to season your chicken. Seasoning throughout the process won’t overpower it. Season the chicken, flour, egg wash, and breadcrumbs. Finish with flaky salt for a professional touch.
Using a meat thermometer is a game-changer. Check the thickest part of the cutlet. When it hits 165°F, it’s cooked perfectly. This ensures a juicy center and a crispy exterior.
Creative Variations and Serving Suggestions
Mastering the chicken cutlet opens up a world of possibilities. You can turn simple cutlets into dishes that wow everyone. The cutlet method lets you try different proteins and flavors, making meals for any occasion.
Chicken cutlets are very flexible. You can use chicken thighs for more moisture or try flounder and lemon sole for seafood. Pork and beef tenderloins work well with the same breading. Even vegetables like eggplant and tofu can be used for plant-based options.
Italian Chicken Cutlet Style
To make an authentic Italian chicken cutlet, add Italian seasonings to your breadcrumbs. Mix breadcrumbs with Parmigiano-Reggiano cheese, parsley, and garlic powder. Add lemon or orange zest, or dried basil for more flavor.
For real Italian taste, fry with extra-virgin olive oil instead of vegetable oil. Serve with lemon wedges and flaky sea salt. This lets the ingredients stand out.
Turning Cutlets into Chicken Milanese
Chicken milanese is the top cutlet dish. Use Italian-style breading and fry until crispy. Top with a fresh arugula salad, lemon juice, olive oil, salt, and pepper. Add Parmesan cheese and cherry tomatoes for color and freshness.
You can also make chicken parmigiana by layering cutlets with marinara sauce and mozzarella. Slice them for sandwiches or wraps. Serve with pasta, your favorite sauce, or roasted vegetables and potatoes.
| Protein Option | Preparation Tip | Best Serving Style |
|---|---|---|
| Chicken Breasts | Pound to even thickness | Italian-style with lemon |
| Chicken Thighs | Butterfly carefully for thickness | Chicken milanese with arugula |
| Pork Tenderloin | Slice against the grain | With creamy mushroom sauce |
| Flounder/Lemon Sole | Handle gently, pound lightly | With lemon butter sauce |
| Eggplant | Slice lengthwise, salt to remove moisture | Eggplant parmigiana style |
Serving suggestions can make your cooking more exciting:
- Pair with light and fresh salads
- Serve alongside a dish of pasta
- Combine with roasted vegetables and potatoes
- Top with marinara and mozzarella for parmigiana
- Layer in sandwiches or wraps
- Add various sauce toppings for different flavors
Whether you stick with classic chicken milanese or try other proteins, your cutlet technique is versatile. Each variation shows how one basic method can lead to many delicious dishes.
Storing and Reheating Your Chicken Cutlets
After making your chicken cutlet, you’ll want to keep it fresh for later. Knowing how to store it right keeps it safe and tasty. Whether you’re prepping meals or have leftovers, the right storage makes a big difference.
Keep your cooked chicken cutlet in the fridge in an airtight container. Store it away from raw meats. This way, it stays good for 3 to 4 days. For longer, freezing is best—your chicken cutlet can last up to 3 months in the freezer.
Freezing your chicken cutlet? Use parchment paper between each piece to prevent sticking. Put it in a freezer-safe container or zip-top bag with little air. This prevents freezer burn.
Prep your chicken cutlet ahead by breading it and refrigerating it for up to 24 hours before cooking. This makes the breading stick better and improves the texture.
Best Methods for Reheating Your Chicken Cutlet
Choosing the right way to reheat keeps your chicken cutlet crispy. Different methods work better than others for that satisfying crunch.
| Reheating Method | Temperature | Time | Best For |
|---|---|---|---|
| Oven | 375°F | 10-15 minutes | Best crispiness, ideal for multiple chicken cutlets |
| Air Fryer | 350°F | 3-5 minutes per side | Quick reheating, excellent texture |
| Skillet | Medium heat with oil | 2-3 minutes per side | Fast method, restores crispiness |
| Microwave | 50% power | 1-2 minutes | Not recommended, makes breading soggy |
The oven method is best for your chicken cutlet. Preheat to 375°F. Place it on a wire rack over a baking sheet. Heat for 10 to 15 minutes until warm. A wire rack lets heat circulate, keeping the bottom crispy.
An air fryer is also great for your chicken cutlet. Cook at 350°F for 3 to 5 minutes per side. This method quickly brings back the crunch, perfect for single servings.
Use a skillet with a little oil to reheat your chicken cutlet. Avoid the microwave—it makes the breading soggy and ruins the texture.
Thawing Your Frozen Chicken Cutlet
Thaw your frozen chicken cutlet in the fridge overnight for the best results. This slow thawing keeps it safe and preserves texture. If you’re short on time, reheat it from frozen with a few extra minutes, but thawing first is better.
- Store your chicken cutlet in an airtight container in the fridge for 3 to 4 days
- Freeze your chicken cutlet for up to 3 months using freezer-safe containers
- Separate frozen pieces with parchment paper to prevent sticking
- Bread and refrigerate uncooked chicken cutlet for up to 24 hours before cooking
- Use an oven, air fryer, or skillet to reheat your chicken cutlet
- Always thaw your chicken cutlet in the refrigerator before reheating
Conclusion
You now know how to make a perfect chicken cutlet recipe at home. It’s simple and only needs a few ingredients. You’ll need butterflied chicken, a three-part breading station, and hot oil.
Follow these steps: pound the chicken to even thickness, set up your stations, and press breadcrumbs into the meat. Then, cook until it’s golden brown.
Your chicken cutlet recipe can be used in many ways. Serve it as a quick dinner with a salad. Or, make it fancy for dinner guests as chicken Milanese. You can even add marinara and mozzarella for chicken parmigiana.
It’s great for lunches too. And you can use this method with pork, veal, or even vegetables like eggplant.
The secret to success is in the details. Make sure the meat is even so it cooks well. Use hot oil or a preheated oven for crispiness. Season at each step to build flavor.
Pressing breadcrumbs firmly into the chicken is key for crunch. Every step is important and easy to do.
Now, try different seasonings and ways to serve. Use Italian seasonings, garlic powder, or panko breadcrumbs with parmesan. You can make restaurant-quality meals at home anytime. You’re all set to cook!